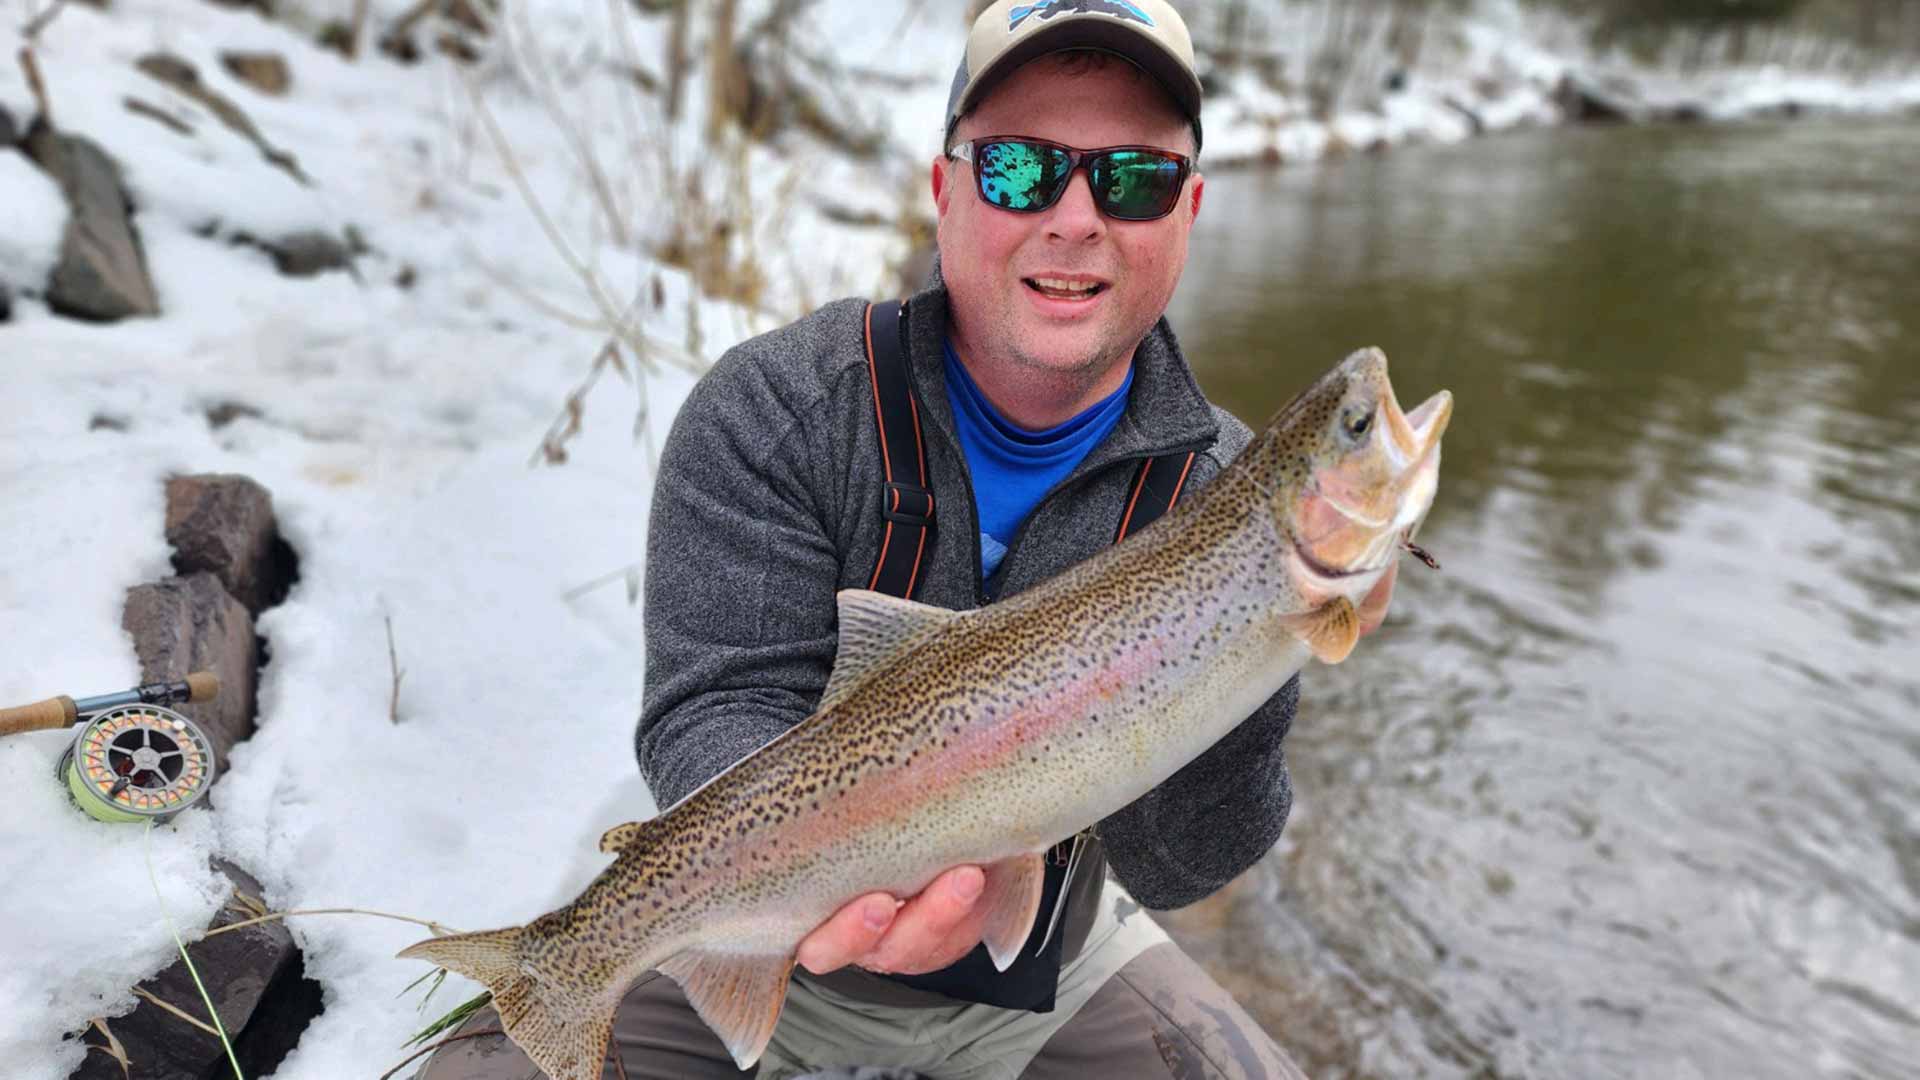
Ice fishing guide Tony Roach breaks down his deadstick set-line strategy from A-Z – the ideal rod, how to set your drag, how he hooks his minnows, his preferred terminal tackle, etc.
Ice fishing can be a thrilling and rewarding experience, and one technique that I particularly enjoy is deadsticking. In this article, I will explain why I prefer deadsticking over other methods like bobbers or tip-ups, and share some tips on how to set up and use a dead stick effectively.
The Benefits of Deadsticking
Deadsticking involves setting up a fishing rod on a stand and watching the rod tip for any movement. It may sound simple, but there are several benefits to this technique that make it a popular choice among ice anglers.
1. Fun and Exciting
One of the main reasons I enjoy deadsticking is because it’s a fun and exciting way to fish. There’s something thrilling about watching the rod tip fold over when a fish takes the bait. It adds an element of anticipation and surprise to the fishing experience.
2. Hook Setting Power
Another advantage of deadsticking is the hook setting power it provides. Dead stick rods are designed with plenty of backbone, allowing for a strong hook set when a fish strikes. This is especially important when targeting larger species like walleye, where a solid hook set is crucial to landing the fish.
3. Extended Fish Presence
Setting up a dead stick with a live minnow can help keep fish in the area for a longer period of time. The presence of a live bait entices fish to stick around, increasing your chances of catching more fish. Whether you’re targeting panfish or walleye, having a dead stick in addition to your jigging rod can be a game-changer.
Setting Up a Dead Stick
Setting up a dead stick is relatively simple and requires just a few key components. Here’s how I like to rig my dead sticks:
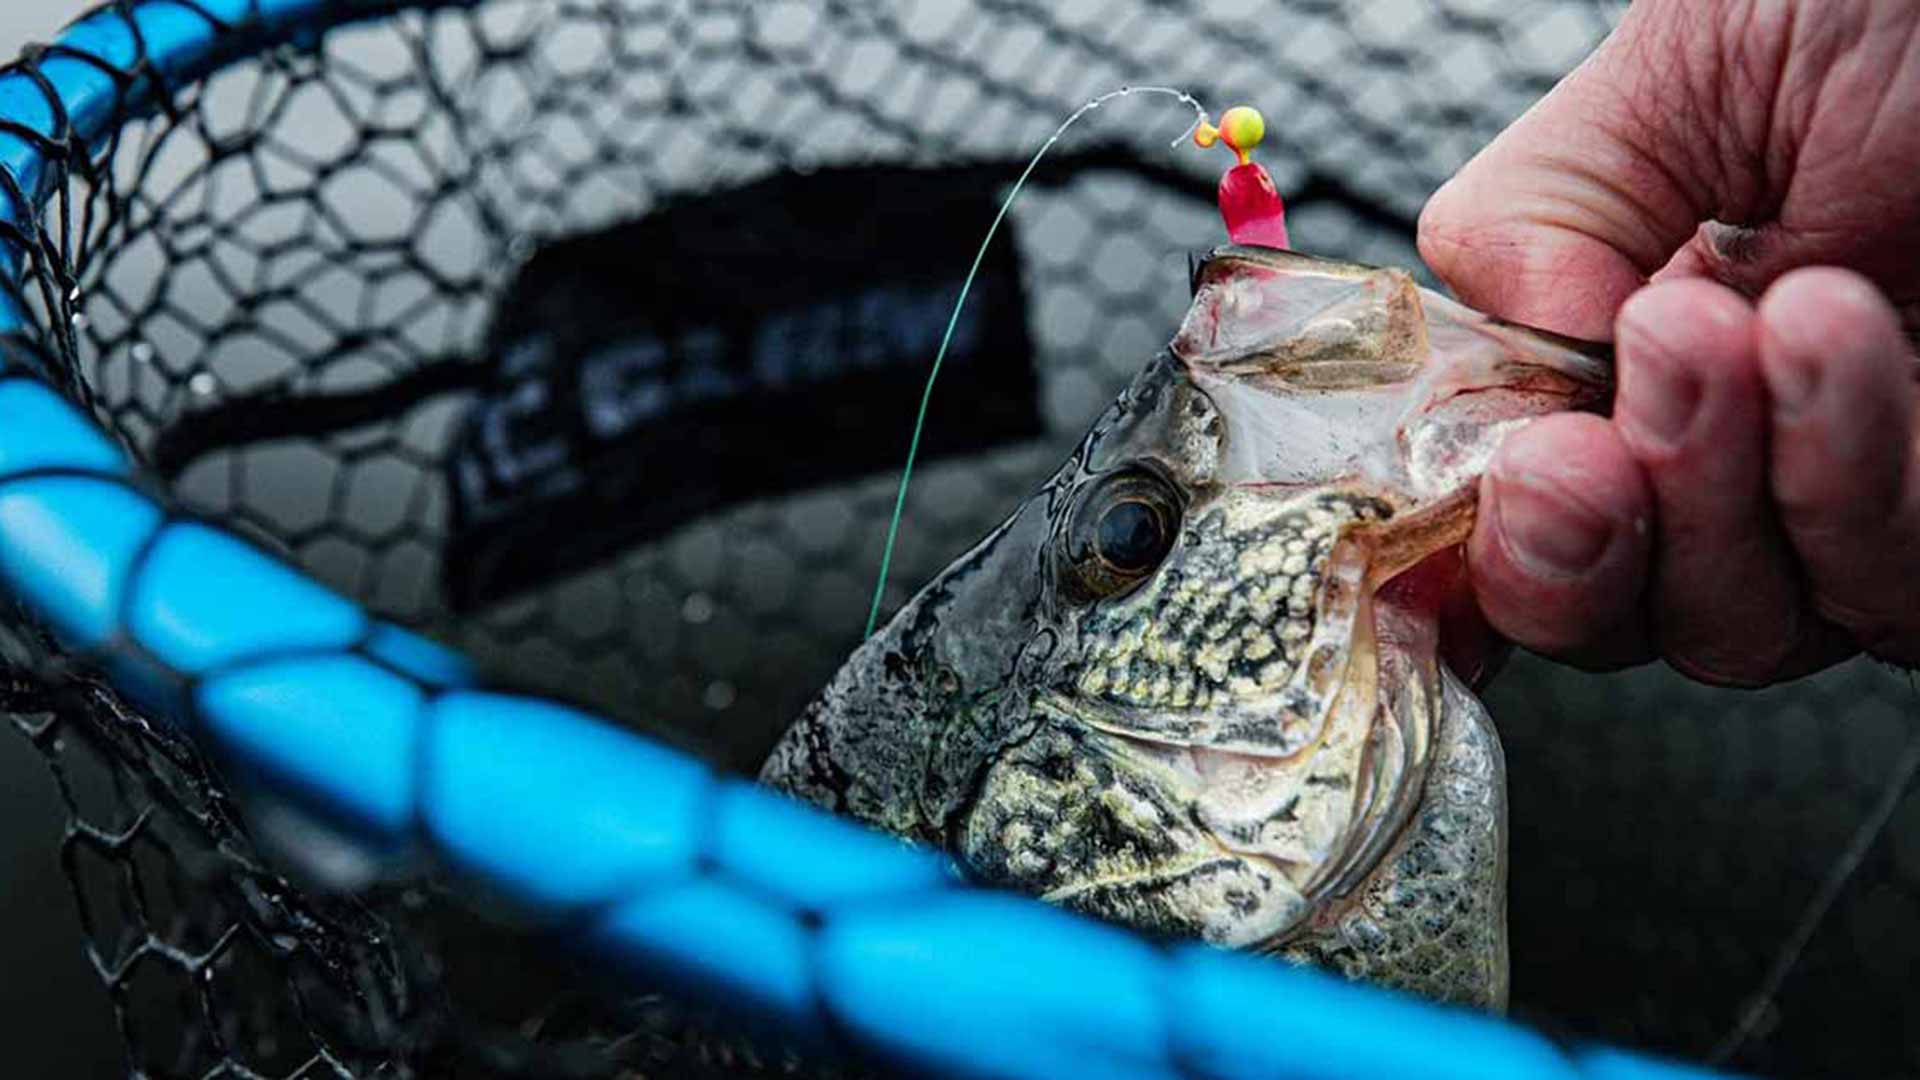
- Plain Hooks: I prefer using plain hooks tipped with a minnow. This setup allows for a natural presentation and increases the chances of enticing a bite.
- Sinker Setup: Use a sinker setup with either a swivel or a split shot. This helps keep the bait at the desired depth and adds some weight for casting.
- Loose Drag: Set your drag really loose so that when a fish strikes, it can take the bait and swim with it before you have a chance to grab the rod. This gives the fish a sense of freedom and increases the likelihood of a solid hook set.
Rigging the Minnow
To rig the minnow, follow these steps:
- Avoid the Spine: When hooking the minnow, be careful not to hit its spine. This can injure the minnow and affect its swimming action.
- Dorsal Fin Hook: Hook the minnow through its dorsal fin, ensuring that it stays securely on the hook without impeding its movement.
Using a Depth Finder
Using a depth finder can be a helpful tool when setting up your dead stick. By using a depth finder, you can accurately set your dead stick at or just above the level where the fish are suspended. This increases your chances of attracting bites and catching fish.
Here’s how to use a depth finder to set up your dead stick:
- Locate the Fish: Use your depth finder to locate the fish. Look for marks on the screen that indicate the presence of crappies, bluegills, or any other species you’re targeting.
- Set the Dead Stick: Once you’ve located the fish, set up your dead stick at the desired depth. If the fish are suspended, position your dead stick accordingly. This will ensure that your bait is in the strike zone and increases your chances of getting bites.
Proper Dead Stick Placement
When setting up your dead stick, it’s important to consider the placement and positioning of the rod. Here are some tips for proper dead stick placement:
- Rod Holder: Use a rod holder to secure your dead stick. This keeps the rod in an upright position and allows you to easily monitor the rod tip for any movement.
- Tip Position: Position the tip of the rod so that it sits slightly above the surface. This makes it easier to see any movement when a fish strikes.
- Bright Tip: If possible, use a dead stick rod with a bright tip. This makes it more visible from a distance, especially against the backdrop of snow and ice. Being able to see the rod tip move can help you quickly identify when a fish has taken the bait.
The Excitement of Deadsticking
Now that you have your dead stick set up, it’s time to experience the excitement of deadsticking. When a fish strikes, you’ll notice the rod tip start to move. This is your cue to take action.
Here’s what to do when your dead stick gets a bite:
- Give Some Line: When you see the rod tip move, give the fish a little bit of line to allow it to swim with the bait. This gives the fish a sense of freedom and increases the chances of a solid hook set.
- Reel in the Fish: Once you’ve given the fish some line, slowly reel in the fish to set the hook. Pay attention to the tension on the line and be ready to react when the fish takes the bait.
- Enjoy the Catch: As you reel in the fish, enjoy the thrill of the catch. Deadsticking can be a highly effective technique for catching a variety of fish, including crappies, walleye, and more.
Conclusion
Deadsticking is a fun and effective technique for ice fishing. It offers several benefits, including the excitement of watching the rod tip for movement, the hook setting power of a dead stick rod, and the ability to keep fish in the area for a longer period of time. By following the tips and techniques outlined in this article, you can improve your chances of success while ice fishing. So, if you haven’t tried deadsticking yet, I highly recommend giving it a try. It may just become your new favorite ice fishing technique.

