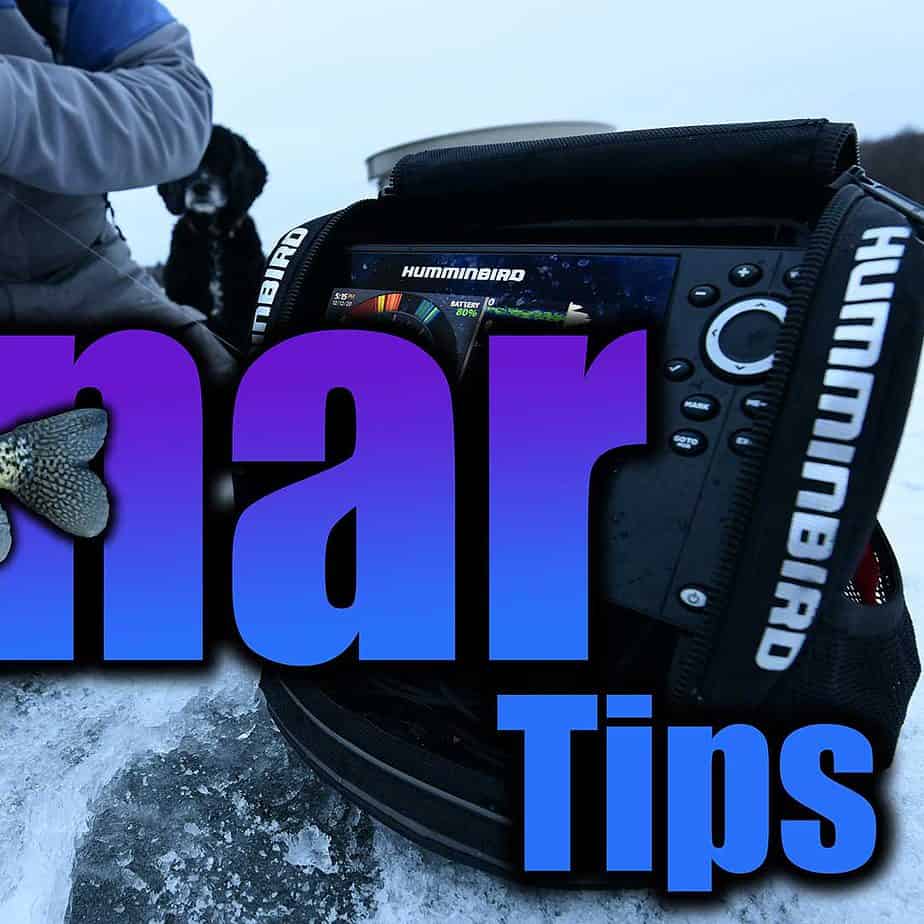
Ice Sonar Tips: Advanced & Beginner Tactics for Reading Fish
From the day you get your first ice sonar unit, the ice-fishing universe is forever changed.
I was 10 years old, the year was 1989, and for 25 bucks I got my grandpa’s old Lowrance 2330 which he had since given up on figuring out. It was fairly simple to operate, and even conceptually, didn’t seem a technological marvel for its time, but what it did for your fishing was borderline magical.
I screwed together some one-inch pine strips in the shape of a “T”, used electrical tape to secure the open-water transducer to the bottom of the wood, and set about dropping that ducer into as many ice-holes as I could hand-auger. Not only could I use it to catch fish and track how they responded to my bait, I could use it to find active fish before I even wet a line. At the time, it was considered somewhat odd; almost a novelty. Now, ice-fishing electronics are a multi-million dollar category, and the thought of fishing without one seems pointless.
MY GOAL
In those days, any electronic assistance was a benefit, so features and specs weren’t something people really studied. It was simply too new. Now, all manufacturers produce multiple products per lineup, all with individual niches, functions, and price-points. My goal isn’t to help you select what unit is right for you, it’s to help you get the most from whatever electronics you have.
Something is always better than nothing in the ice-electronics market, so whatever you do, get into it at the market level you can afford. The used market is a great place to purchase these, but more importantly for those looking to make their first investment, it’s a good place to sell them should the unit not be right for you. I’ve sold many flashers over the years, and typically lose very little money on them, making it the cheapest rent possible on one of the most important pieces of ice gear possible. Purchase worry-free, at nearly any dollar amount, knowing that you can easily sell it if you no longer want it.

ICE SONAR DEPTH DISPLAY
Digital or mechanical, circular or flat-screened and square, there are a number of items most flashers have in common. Undoubtedly, there’s an on/off switch, frequently connected to a setting which adjusts the depth of the display you’re fishing. This is important, as you always want to be using the depth display that barely contains the depth you’re fishing. If you’re in 32 feet of water, you want to be using the 40 foot scale, not the 80 or beyond.
SETTING YOUR GAIN
Next, you’ll want to set your gain appropriately. This is the other main adjustment on your flasher, and is of critical importance as it determines how open the receiver in your transducer is to gathering return sonar signals. Your goal here is to set the gain as low as possible while still seeing your jig as a clearly defined mark. Turn it too high, and you’re receiving a fair amount of noise in the form of double signals, and are also making the marks on your graph abnormally large. This hinders your ability to see what’s going on by covering up valuable real estate on your sonar screen.
ICE SONAR CONE ANGLES
Here’s where the details get trickier. Does your ice sonar have multiple transducer cone angles? If so, make use of them! Typically, a narrower cone angle is paired with a wider one to cover a multitude of scenarios. The wide cone angle casts a bigger sonar net to the bottom, often providing optimum results especially when searching for fish that could be off to the sides. That said, narrower beams are preferred when fishing steep breaks, as any sonar reads the closest edge of bottom the sonar cone first encounters, thus obscuring the remainder of the underwater slope. Another reason to use a narrow beam is with other sonar in close proximity, like a buddy in a fish house, as it͛s best to remove noise by only receiving the signals your ice unit is producing.
ICE SONAR INTERFERENCE REJECTION
Speaking of noise, when fishing with a friend, how is your interference rejection set? Do you notice intermittent marks that show up, racing in a circular pattern, thus blocking your ability to see fish or your bait? Work with nearby electronics users by adjusting one unit at a time, partnering to remove interference for everyone. Make sure gain settings are as low as possible to reduce the effect of this problem. In deep water with hard bottom, expect this to be something you’ll need to address as sonar bounces off hard objects quite well, and over large distances has the opportunity to bounce off other signals that are produced by itself or other units.
All of these more basic tasks should become part of a routine that’s simply habitual every time you step onto a sheet of ice. While they may seem rudimentary in their practice, you’d be surprised how many ice veterans run with high gain settings, no interference rejection, or the improper depth scale reading.
ICE SONAR TARGET SEPARATION
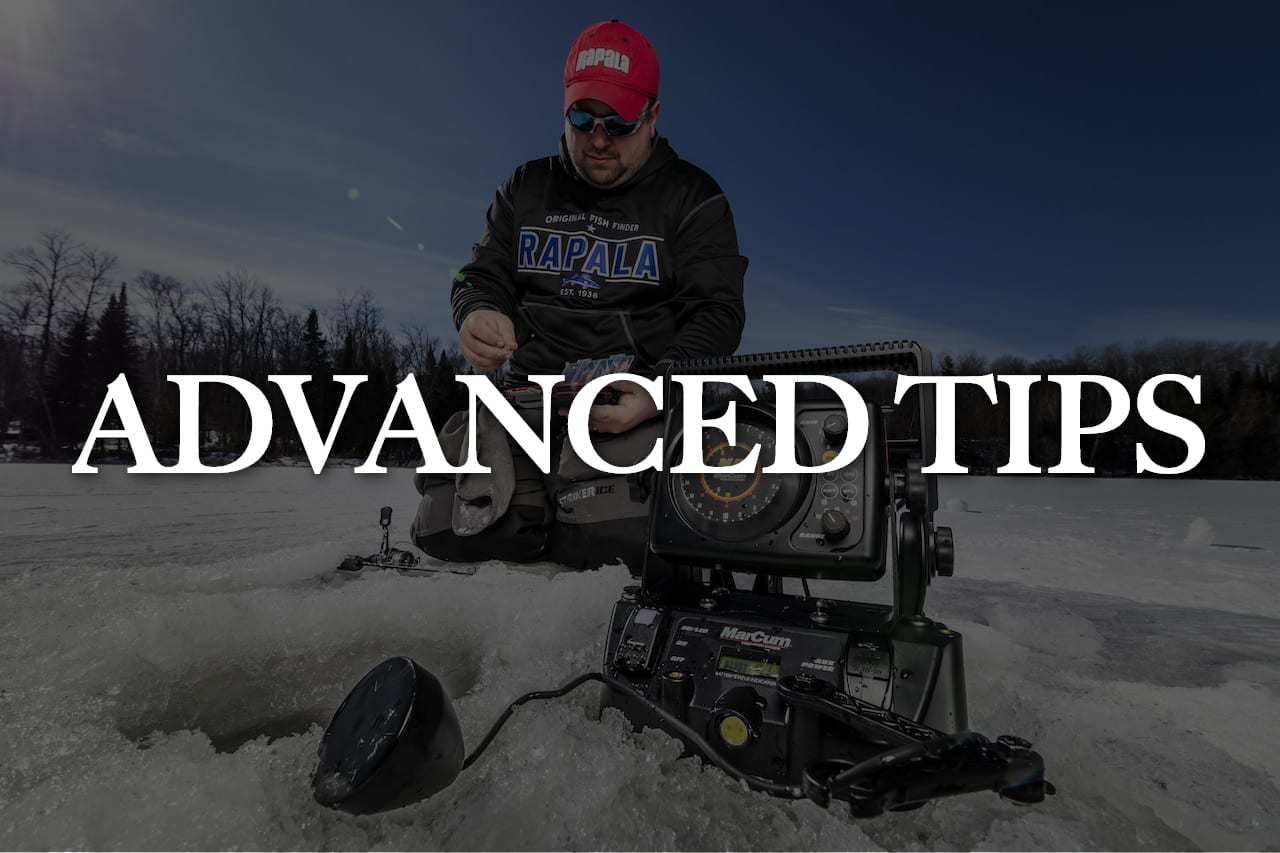
Advanced ice electronics users know that one of the most critical pieces of information regarding any sonar involves knowing the target separation that the particular unit can achieve, as it can be critical to everything from studying a fish’s reaction and habits, to learning when to set the hook. Target separation is the specific distance that your sonar can detect a difference in targets. For example, with a target separation of ½ inch, you know that if a fish is closing on your bait and the marks merge, that the fish and your lure are inside of ½ inch of each other. The closer that distance or smaller that number, the more power you have as an angler in seeing and understanding the multitude of minutia that fish exude as they enter and leave your graph screen.
Is the fish charging, flaring its fins before a strike, attacking from above, slowly backing away? All of these are visual cues you can learn to read from your ice sonar, and then incorporate into your jigging stroke, bait selection, and color choice to attract and fool more fish.
If your target separation is larger, then you simply have to rely more on watching your rod tip as a fish closes within the specified distance. Bluegill and walleyes both can come tantalizingly close to a bait while never actually eating it, so knowing that distance helps you determine how far away to keep the bait to play “keep-away” best.
ICE SONAR ZOOM MODE
Most ice sonar systems these days have a zoom option, but rarely do I see it utilized to its full potential. First and foremost, if you have it, use it. There are very few situations where a zoom mode isn’t beneficial, as not only do you see what’s going in detail, with certain sonar systems you actually increase the level of target separation or precision that the unit can interpret.
Bottom zoom is great, especially for species like walleyes that hug bottom so very often, and the deeper you’re fishing, the more important it is, as the scale on your graph prevents you from seeing tiny details at depth. Adjustable zoom, a feature on an increasing number of sonar systems these days is even better, especially for fish like crappies or lake trout. Both of those species roam throughout the water column, where a bottom zoom does little good, and an adjustable zoom lets you see detail at any depth range.
Regardless of the model or brand, make sure to learn how to use and adjust your zoom feature to see fish at any depth in more detail.
EARN YOUR UNDERWATER EYES
The best sonar training I could suggest to anyone, is to do two things in the following order. The first is a bit unorthodox, and actually involves an underwater camera. Take a few of your favorite baits, and fish them in front of an underwater camera. Learn how subtle rod motions make the bait move in real-time, then drop a sonar system and view them simultaneously. Learn how the sonar translates movement of different lures at different depths. Raise your bait a foot, and observe what that looks like on your sonar. My guess is that it’s a lot less movement on the graph than you figured, an effect that’s compounded in deeper water. It causes us to over-jig, as we expect the targets on our graph to jump drastically. Then in turn, we begin to jig more frantically with more exaggerated motions to satisfy our expectations.
The next thing you should do is to put those same baits in front of fish with your underwater camera and sonar as well, this time studying carefully how fish react simultaneously on camera and on sonar.
Learn what a bluegill looks like when flaring its fins before the strike, on camera first to see the visual, then on sonar next so you can eventually shed the camera. Observe bass, pike, or large walleye on your sonar and camera. How big does a large bass look like on your sonar system? How do various species react differently? Answer these questions and the array of others you’ll be fascinated with throughout the process and you’ll have underwater eyes wherever you go.
After putting these pieces of the puzzle together, you’ll see things you never knew existed. Like how a flickering bottom can mean a walleye to the far edge of your cone angle, just waiting for you to jig more aggressively and attract him in. Or how when searching for basin crappies suspended over deep holes you can swing your transducer back and forth, side to side, to locate suspended ‘pies well off to the edges of where you’ve drilled.
More importantly, you’ll learn to fine-tune your approach to specific fish, on different days, with varying conditions, to spoon-feed them the exact style of offering that triggers them to eat. You’ll jig differently to attract than you will to get them to close, and you’ll have your sonar system to thank as it truly helps you to not only see what’s going on below the ice, but to teach you tell-tale fish behaviors and adaptive tactics to get those fish to strike.
